In the previous section you added the ability to initiate a call. This section describes how to receive notifications and handle incoming calls.
If you have not yet initiated a call, first follow the steps in Make an audio call.
For best audio testing results use two physical Android devices. You can initiate calls with an emulator, but audio reliability is higher on real devices.
To receive notifications about incoming calls, your application must integrate either FCM or HMS push delivery. A comparison and setup instructions are available in the Push notifications guide. This guide uses FCM. Ensure you have generated and downloaded your google-services.json file.
Copy your
google-services.jsonfile into the<your-android-application-name>/app/directory.Create a
FcmListenerServiceclass that extendsFirebaseMessagingService. Declare the service insideAndroidManifest.xml.app/src/main/AndroidManifest.xml<service android:name=".fcm.FcmListenerService" android:exported="false"> <intent-filter> <action android:name="com.google.firebase.MESSAGING_EVENT" /> </intent-filter> </service>Inside the service's
onMessageReceivedcallback, confirm the payload indicates an incoming call. If it does, pass it to the boundSinchServiceand let the Sinch client handle notifying observers.app/src/main/java/com/sinch/rtc/sample/push/fcm/FcmListenerService.ktoverride fun onMessageReceived(remoteMessage: RemoteMessage) { val data = remoteMessage.data if (!isSinchPushPayload(data)) { Log.d(TAG, "Non Sinch push payload received. Ignoring.") return } val result = try { queryPushNotificationPayload(applicationContext, data) } catch (e: Exception) { Log.e(TAG, "Error while executing queryPushNotificationPayload", e) return } object : ServiceConnection { private var callNotificationResult: CallNotificationResult? = null override fun onServiceConnected(name: ComponentName, service: IBinder) { callNotificationResult?.let { val sinchService = service as SinchService.SinchServiceInterface try { sinchService.relayRemotePushNotificationPayload(it) } catch (e: Exception) { Log.e(TAG, "Error while executing relayRemotePushNotificationPayload", e) } } callNotificationResult = null } override fun onServiceDisconnected(name: ComponentName) {} fun relayCallNotification(callNotificationResult: CallNotificationResult) { this.callNotificationResult = callNotificationResult createNotificationChannel(NotificationManager.IMPORTANCE_MAX) applicationContext.bindService( Intent(applicationContext, SinchService::class.java), this, BIND_AUTO_CREATE ) } }.relayCallNotification(result) }NoteSee the implementation of
FcmListenerServiceinside thesinch-rtc-sample-pushsample for a complete FCM messaging service covering additional Firebase functionality.Modify the
SinchServicebinder by adding a method that forwards the push payload to the Sinch client.app/src/main/java/com/sinch/rtc/sample/push/SinchService.ktfun relayRemotePushNotificationPayload(result: CallNotificationResult) { ... createClientIfNecessary() sinchClient?.relayRemotePushNotification(result) }
Inside the service client creation method, add logic to attach a
CallControllerListener:app/src/main/java/com/sinch/rtc/demovvsdk/SinchService.ktprivate fun createClient(username: String) { // Client creation steps. sinchClient?.callController?.addCallControllerListener(SinchCallControllerListener()) }Implement the
onIncomingCallcallback to ask the user whether they want to accept or decline the call:app/src/main/java/com/sinch/rtc/sample/push/SinchService.ktoverride fun onIncomingCall(callController: CallController, call: Call) { val intent = Intent(applicationContext, IncomingCallScreenActivity::class.java) .apply { putExtra( IncomingCallScreenActivity.EXTRA_ID, IncomingCallScreenActivity.MESSAGE_ID ) putExtra(CALL_ID, call.callId) } val inForeground = isAppOnForeground(applicationContext) if (!inForeground) { intent.addFlags(Intent.FLAG_ACTIVITY_NEW_TASK or Intent.FLAG_ACTIVITY_CLEAR_TASK) } else { intent.addFlags(Intent.FLAG_ACTIVITY_NEW_TASK) } if (Build.VERSION.SDK_INT >= Build.VERSION_CODES.Q && !inForeground) { (getSystemService(NOTIFICATION_SERVICE) as NotificationManager).notify( IncomingCallScreenActivity.MESSAGE_ID, createIncomingCallNotification(call.remoteUserId, intent) ) } else { applicationContext.startActivity(intent) } }Build and run the application on both devices. Log in with two different usernames (for example,
TestCallerandTestCallee).On the first device enter
TestCalleeas the callee name and press CALL.On the second device you should see a screen asking if you want to accept or decline the call.
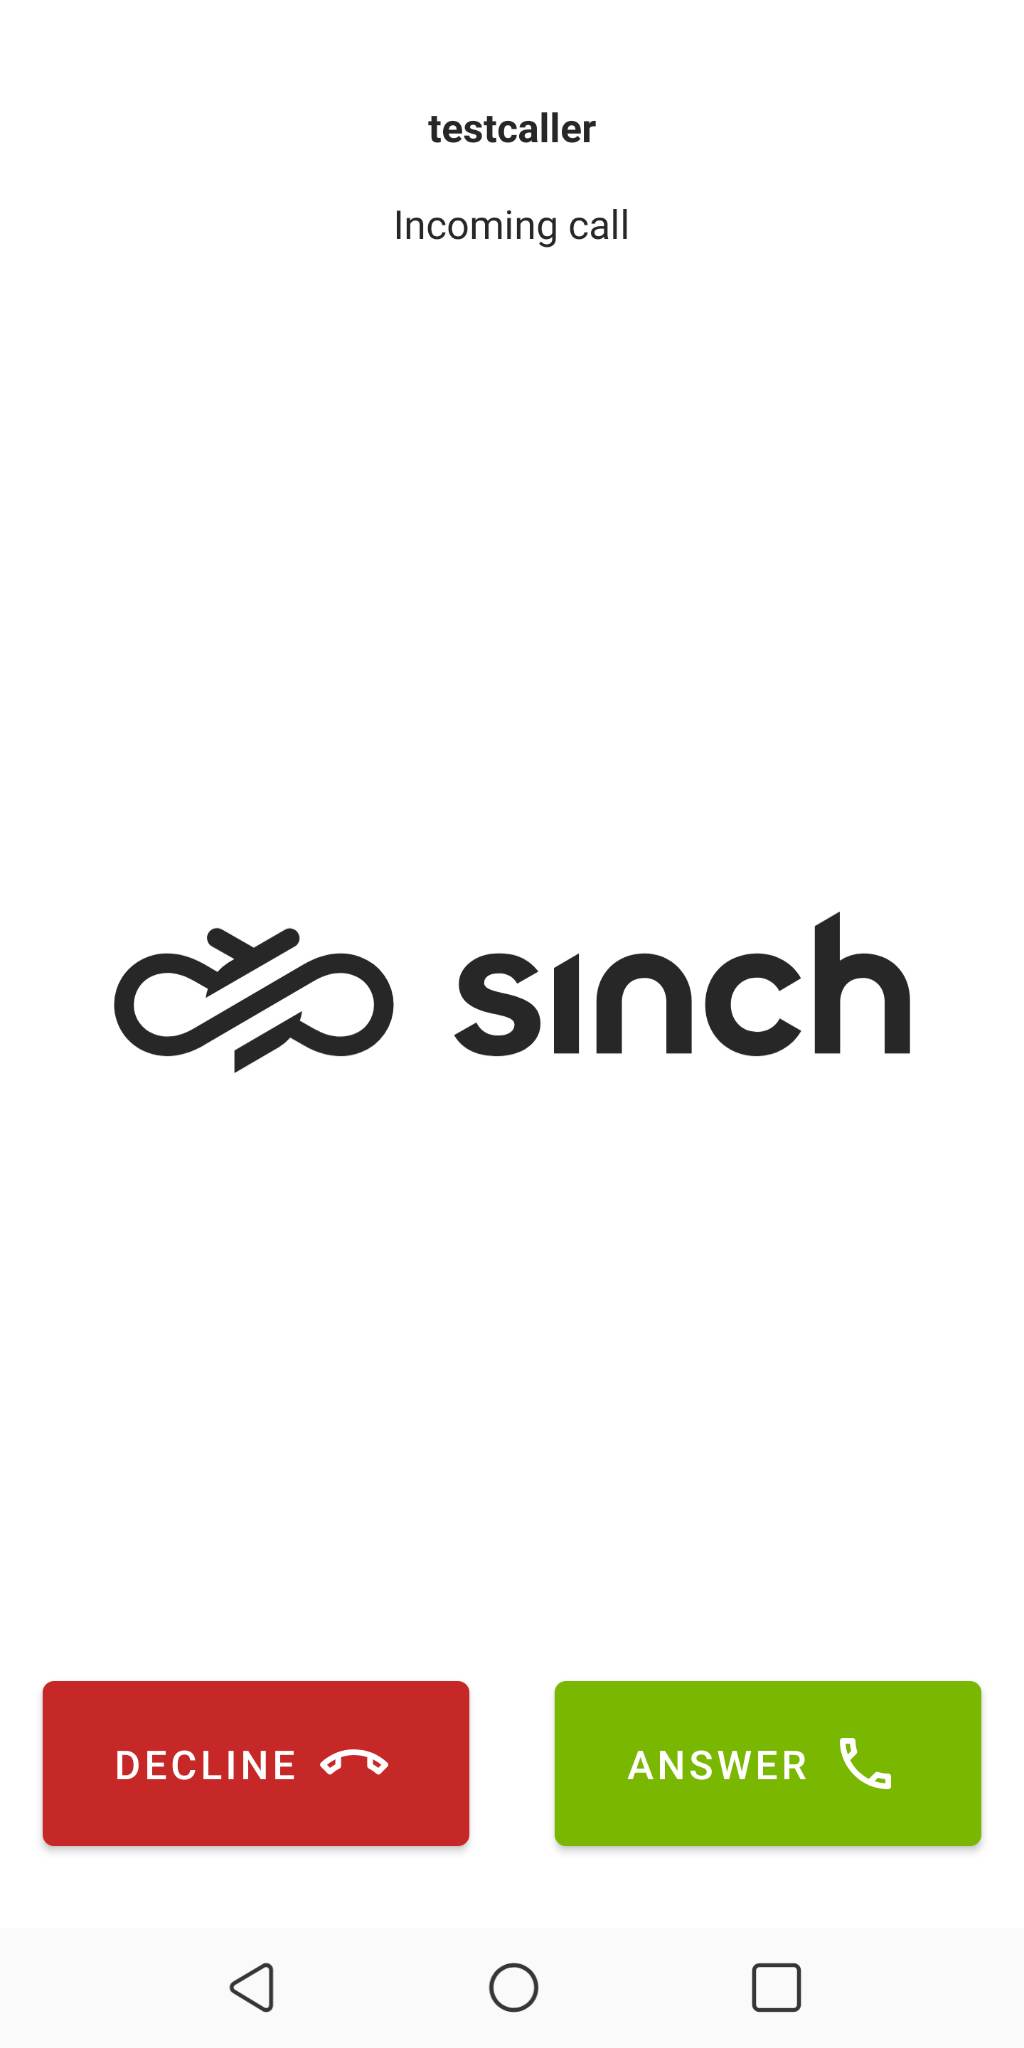
- Press Accept and begin your conversation.
Once the connection is established users should be able to finish the conversation. Implement this by adding a button visible only after answering the call.
Inside
callscreen.xmldefine a button that is initially hidden:app/src/main/res/layout/callscreen.xml<com.google.android.material.button.MaterialButton android:id="@+id/hangupButton" style="@style/Widget.MaterialComponents.Button.Icon" android:layout_width="match_parent" android:layout_height="wrap_content" android:layout_alignParentBottom="true" android:layout_centerHorizontal="true" android:layout_gravity="center_horizontal" android:layout_marginStart="@dimen/margin_average" android:layout_marginTop="@dimen/margin_small" android:layout_marginEnd="@dimen/margin_average" android:padding="@dimen/margin_base_plus" android:text="@string/end_call" android:textAlignment="center" android:textColor="@color/white" app:backgroundTint="@color/sinch_decline_red" app:icon="@drawable/ic_outline_call_end_24" app:iconGravity="textEnd" />Add the method responsible for handling the hang‑up button click inside
CallScreenActivity.app/src/main/java/com/sinch/rtc/sample/push/CallScreenActivity.ktoverride fun onCreate(savedInstanceState: Bundle?) { super.onCreate(savedInstanceState) ... endCallButton.setOnClickListener { endCall() } } private fun endCall() { ... call?.hangup() finish() }Finally, on the callee side—after answering the call—add a call-specific listener to the call object. In this scenario there are two listeners: one on the caller side (added via
callController.addCallControllerListener(SinchCallControllerListener())) and one on the callee side (added after answering).app/src/main/java/com/sinch/rtc/sample/push/IncomingCallScreenActivity.ktoverride fun onServiceConnected() { val call = call if (call != null) { // Adding call specific listener. call.addCallListener(SinchCallListener()) remoteUserTextView.text = call.remoteUserId if (ACTION_ANSWER == action) { answerClicked() } else if (ACTION_IGNORE == action) { declineClicked() } } else { Log.e(TAG, "Started with invalid callId, aborting") finish() } }
Now that you've built a simple app to make and receive calls, learn more about the Android SDK.